
Members only
This content is exclusive to SIMSTRUCT members. Join the Builder Program to unlock full build logs, dimensions, and resources.

This content is exclusive to SIMSTRUCT members. Join the Builder Program to unlock full build logs, dimensions, and resources.


I paused development of the A-10C panels for a moment to focus more deeply on the electronics side of SIMSTRUCT. After all… what is a body without a soul? The front console is essentially complete — all panels are designed, printed, tested, and the fit is extremely accurate. I’m very happy with how the results are shaping up. However, with the arrival of a new batch of toggle switches, it became clear that I’ll need to revisit some parts of the design, especially the mounting geometry on the back panels. This raised an important question about the future direction of SIMSTRUCT: How can I make the A-10C cockpit files and electronics accessible to everyone, regardless of skill level or component availability? Different builders use different hardware, and even small variations in switch dimensions can become barriers to an otherwise simple build. That goes against my vision — which is to make cockpit construction achievable and enjoyable for all. Because of this, I’m now exploring a “one-size-fits-all” approach for panel design. The idea is to create mounting systems and tolerances flexible enough to support a wide range of switches and components without forcing anyone to hunt for specific hardware. And I would love to hear from the community: What challenges have you faced with panel compatibility? What ideas or suggestions do you have for universal mounting systems? Are there components you think should be prioritized for broad compatibility? Thank you all for following the project and supporting each step of this journey. Much more is coming soon — and your feedback will shape it. See you in the next update.

(A small pause… but for a very good reason!) Hey everyone! I took a short break from modeling the A-10C panels because I needed to lock down something even more important: the electronics heart that will power the entire front dashboard. Sometimes you have to pause the build to keep the ideas fresh — and trust me, this part was worth the pause. 
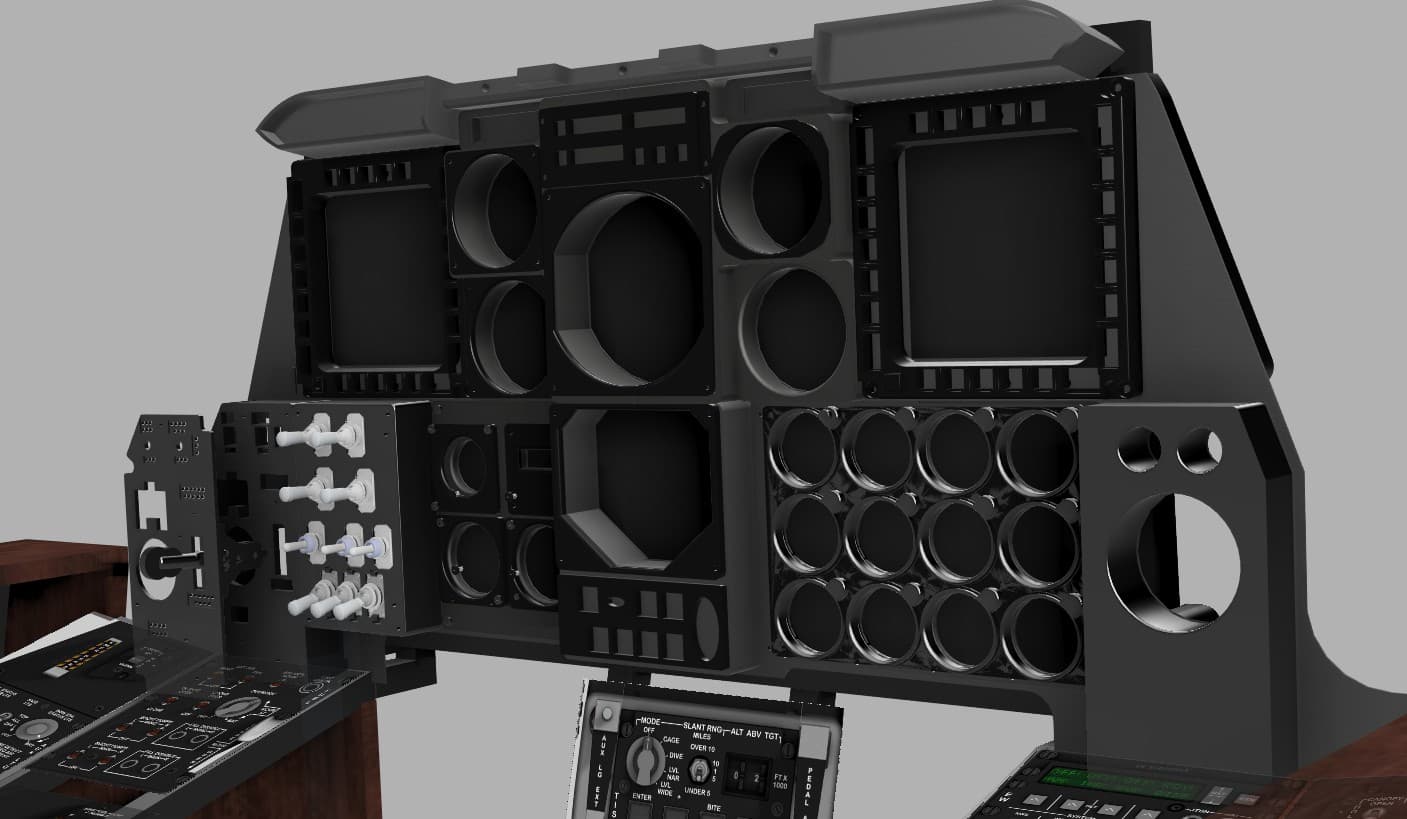
Today I’m sharing a sneak peek of the Front Console Input Board, the “brain” that will handle all the switches, toggles, encoders and sensors from the A-10C front panel. No more cable chaos. No more guessing pins. No more fragile protoboards. Just plug, fly, and smile. 😄 What’s working right now Fully integrated ATmega32U4 (native USB) High-density input matrix with 20 shift registers (160+ digital inputs!) Four 50-pin IDC ports for clean, organized panel wiring Built-in filtering, decoupling, and DCS-ready structure Designed from scratch specifically for the A-10C front console And best of all: It will ship with firmware pre-flashed, DCS-BIOS profiles, naming conventions, and calibration already aligned with the A-10C cockpit logic. You plug it in, connect your switches, and your sim suddenly feels alive. Next milestone I’m now beginning development of the output slave board — the board that will handle backlighting, annunciators, caution lights, and other outputs. Once both boards are complete, the entire front console becomes one clean, integrated ecosystem. What’s coming If all goes well, the full A-10C front console set (inputs + outputs + panel files + wiring guides) should be ready for testing in about one month. ✈️ And beyond… A-10C was my first love, so she had to come first But after she’s complete, I’ll be releasing plane-specific electronics for multiple aircraft. Why plane-specific? Because every aircraft deserves its own optimized, precise electronics. No improvisation. No wrestling cables. No guessing pins. Just: ✔️ Plug in your console ✔️ Load your profile ✔️ And fly. Community Support Coming Soon Over the next 2 weeks, I’ll be launching: A Patreon with supporter tiers (behind-the-scenes progress, early access files, exclusive perks) The official SIMSTRUCT website, where you can follow development and access resources, files, instructions, tutorials and more. And in about 3 weeks, I’ll open the Interest List + Pre-Order Pipeline for those who want to secure their spot for the first production run. Your feedback and support mean the world to me — and they help push this project forward faster. I will keep posting Hope you enjoy the preview! Let me know what you think!

The design of the entire Front Console was made modular following a calibrated photo of the cockpit. A real world dimension was obtained form one panel and applied to the photo, so by proportion all the panels aligned and became at scale with the real console. The design had to take in consideration that an LCD panel will be placed in the back to provide instrument readings via Helios, so the panel could not pass that plane. This obliged me to go slightly away from the real proportion and add some additional depth to it. ( Which it turns out looked good in my opinion and made it bulkier) To facilitate with the electronic assembly, I decided to make it in 4 layers. The first layer was the frame that attaches to the console build structure and to the back panel of the AHCP. The back panel is a 5 mm part that will house the toggle switches. Many trial and errors had to be done in order to find the appropriate tolerances to properly fit the switches in the slots. The next layer comprises of a faceplate that will house the backlighting. I made small 3 mm holes ( With appropriate tolerance) to fit in the LEDs that will shine on the next layer plate. The fourth and last layer is the acrylic decal plate where the labels are engraved (see the fab/laser section for more detail)
Showing all 5 entries